
"Oh, give thanks to the Lord, for He is good! For His mercy endures forever." -Chronicles 16:34 Omgoodness those Thanksgiving leftovers! They are always so good the way they are but sometimes it's nice to change it up a bit!! This is a fun and easy recipe and I even added some healthy ingredients to … Continue reading Thanksgiving Leftovers Sandwich
Holidays
Chocolate Peanut Butter Pie Trifle
This is such an easy dessert and so delicious! You will want to make it for every event! It's also so pretty and a bit fancy! It will look like you spent hours on it!! I was inspired to create this recipe from a delicious peanut butter pie my sister-in-law Angie used to make. Enjoy! … Continue reading Chocolate Peanut Butter Pie Trifle
Good Grief Guacamole!!
I call this Good Grief Guacamole because that's what you say when you taste it! 🙂 As most of my recipes this is super easy! And there are so many ways you can change it up and substitute ingredients when needed. I like to say there aren't many rules in cooking or decorating or even … Continue reading Good Grief Guacamole!!
My Christmas Collection…It’s a Labor of Love :)
"And we know that in all things God works for the good of those who love him, who have been called according to his purpose" Romans 8:28 Every year it's the same. I swear that THIS is the year I will start to downsize my Christmas decor. Especially after the 6th day of hauling it … Continue reading My Christmas Collection…It’s a Labor of Love 🙂
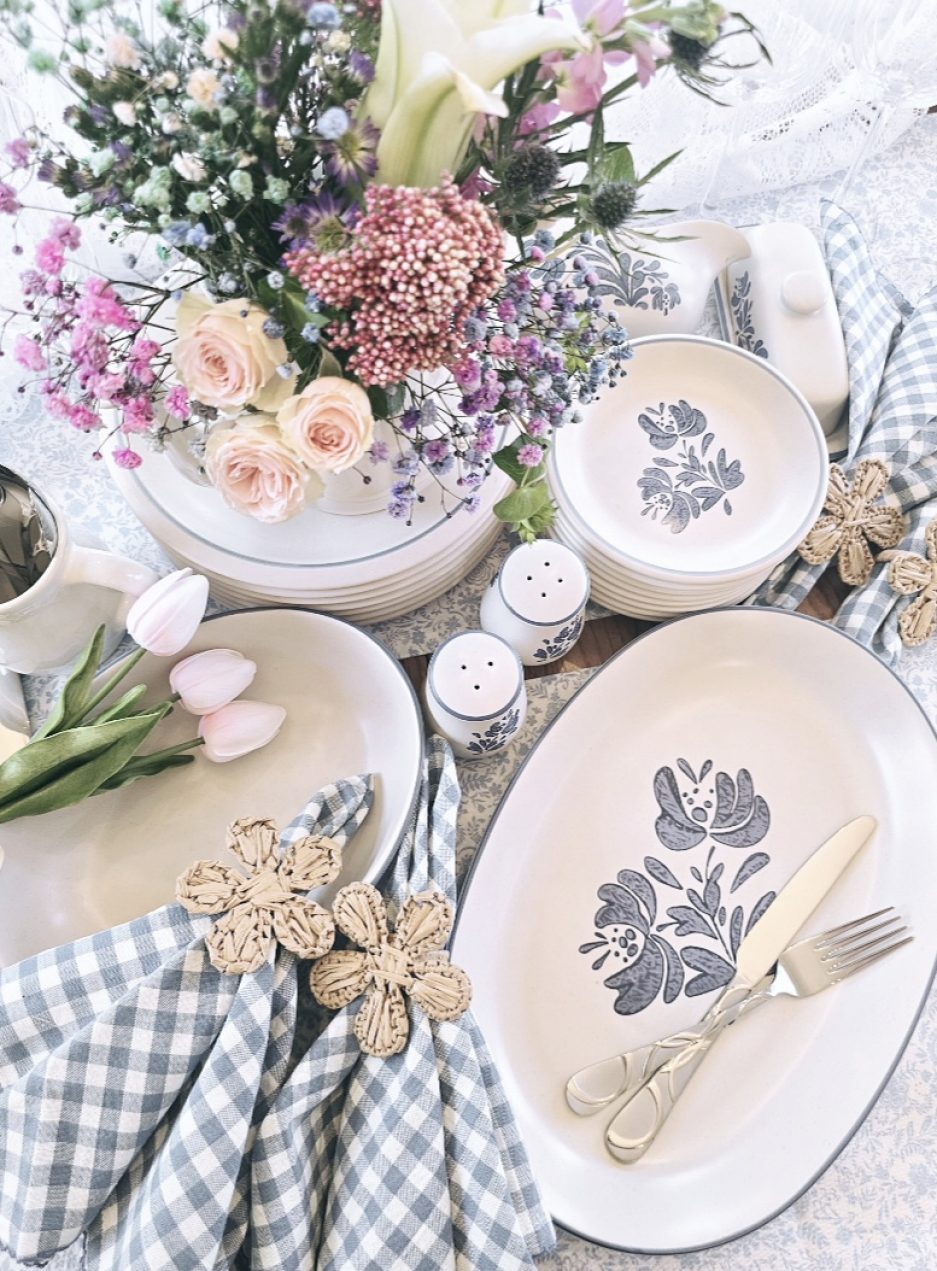
Getting Ready For the Big Day! Tips For Hassle Free Entertaining on Thanksgiving :)
"Enter His gates with Thanksgiving and His courts with praise; give thanks to Him and praise His name." Psalm 100:4 My bacon green beans!! Sooooo yummy! I love my wooden candy corns! 🙂 Every year is the same as the last. I know Thanksgiving is coming but as it gets closer the same panic ensues … Continue reading Getting Ready For the Big Day! Tips For Hassle Free Entertaining on Thanksgiving 🙂
Spreading the Valentine Love…. Throughout the Month of February XOXO
Those who know me, know I am a "theme" crazy person. Whether it be a holiday, an era, or any subject imaginable, I love a good theme! Now that we are in February and somewhat moving out of the "Winter" theme, it's time to mix it with all the love and hearts of Valentine's Day!! ***This … Continue reading Spreading the Valentine Love…. Throughout the Month of February XOXO
Not Totally Lettin Go of Christmas… Just Movin On to… “Winter”:)
Here that time comes again, after New Years, that time you look around at all your Christmas décor and just sigh. Not only do you dread taking ALL those decorations down but it's really kind of sad. At least for people like me it is. 🙂 You put so much work into it and it brings so … Continue reading Not Totally Lettin Go of Christmas… Just Movin On to… “Winter”:)
Rustic Glazed Carrots
I LOVE carrots... any way shape or form. I love them roasted, in soups, and even just fresh. They are the epitome of "earthy". So I rarely peel them. I buy organic carrots, wash them thoroughly and leave the skin on. I feel it makes them even better. So when we were forced to follow restricted diets … Continue reading Rustic Glazed Carrots
A Beautiful Home in Sunny Middle Tennessee Just Waiting For You…***THIS HOME IS SOLD!!! :)
If you have ever thought of moving to middle Tennessee or the Nashville area you MUST take a look at this home! A beautiful 4 bedroom, 2.5 bath, 1.5 story ranch style home with 2676 sq ft and much curb appeal and charm. This home is move in ready and very well maintained with very … Continue reading A Beautiful Home in Sunny Middle Tennessee Just Waiting For You…***THIS HOME IS SOLD!!! 🙂
Peppered Bacon Green Beans
If you are looking for a change from green bean casserole for the holidays I invite you to try this delicious and easy recipe. Now this doesn't fall into my Healthy Selection category (AT ALL) but it IS for the Holidays when you make those little splurges. I have never been a fan of the good ol' … Continue reading Peppered Bacon Green Beans
